Tuesday, 30 December 2014

Top 5 of 2014 - the misses.


Following on from my Top 5 Hits of 2014, here are the misses:

1.  Knitting (in general) - The only item I completed was a cardigan for my little niece.  I am so near completing the Sprig sweater, the body and sleeves are finished and one cuff, whenever I went back to the other I couldn't get my head round it at all.  It's probably really simple but I just had to leave it for a while.  I also have a sore shoulder and elbow which doesn't help.  So a disappointing year for knitting, still haven't got even attempting socks.

2.  Bluegingerdoll Peggy skirt  - Took ages to make as some of the pattern markings were missing, so that may have put me off.  It hasn't been worn hardly at all, I think the length and shape aren't right for me, I might try taking it up to see if I will wear it more.


3.  Merchant & Mills Camber dress - Haven't worn this dress very much, I think mainly because of the fabric.  It has a wool content which is quite itchy and also the check fabric has a lime background (not obvious on internet shop photos, as sometimes happens when buying fabric on line.)  I have made the top version of the pattern twice and wore them a lot, so definitely not the pattern itself.  Will maybe try it in the summer in a nice linen or chambray.


These are my misses, only 3, didn't want to add things just for the sake of it.  Next time I will be looking at my highlights, reflections and goals.

Saturday, 27 December 2014

Sewing and knitting review of 2014 and Top 5 Hits of 2014

Time to start relaxing after the Christmas flurry.  Every year we say we are going to keep it simple, buy in less food, spend less and so on and over the past few years I have improved a lot with that, but there is still a certain degree of stress and anxiety.  So it is lovely in these days between Christmas and New Year  to rest, relax, take stock and, of course, start planning again


I saw a link to Gillian's Top 5 of 2014 on the scruffybadger blog so I thought it might be as good a way as any to evaluate my year.

Sewing wise it was my intention to slow things down a bit and that did happen and the things I did make, I put more effort into improving the fit, finishing items off nicely and generally taking more time over them.

I still made a total of 29 garments:

Quick Summary

For husband: Colette Albion coat

                      Kwik Sew Shirt 3250

For myself:  3 skirts
                    9 jersey tops
                    6 woven top
                    3 jersey dresses
                    4 woven dresses
                    1 coat
                    1 jersey trousers


TOP 5 HITS FROM 2014

I have based my decisions mainly on how much I wore the items (apart from one) as to me that must mean that I like the fit, the fabric is right and it fits into my everyday life perfectly.

So here they are:


1.  Maria Denmark Yasmin Yoke Skirt

Yasmin Yoke skirt

I had wanted a good 'basic' skirt pattern, slightly A-line with pockets and this turned out to be it.  A great pattern and proved itself by me regularly wearing it right from March until now.  Probably also helped by the fact that it is made in a lovely denim fabric, so a great neutral.

2.  Tilly & the Buttons Coco

Well this pattern had to appear as, to date, I have made 5 versions I think.  I love the shape of it, all versions of it are great and can be made in so many different ways with different fabrics, yokes etc.  I also used in my OWOP post.  All versions have been worn loads of times, so to me that makes it a great pattern.

Coco top

Coco dress


3. Liesl & Co Cappuccino dress/top

I was so pleased that this pattern worked for me.  It had sort of replaced/updated the Lisette Portfolio pattern (which I love) but with a slightly different neckline.  It also had instructions for a full bust adjustment which I used with great success.  I have only made the top but have worn it a lot.  Had intended to make a dress version but haven't gotten around to it yet.

Liesl & Co Cappuccino top


4.  Colette Pattern Albion

Well... it's a coat and I did make two of them, so it had to appear here.  I'll be honest, my own version could do with more tweaking, size wise, it's not perfect.  It's really too big in the shoulder region and maybe overall a bit big, therefore probably not that flattering.  However, it is a great pattern and a very warm, cosy coat.  My husband loves his too.

Colette Albion Coat


5.  Victory Patterns Hazel dress

Now this dress hasn't had a lot of day-to-day wear, but as I made it in silky fabric for more special occasions and I loved it for that (think I wore it to 4 'do's') I think it still deserves to be in my Top 5.  It was a bit different for me which is always good, easy to sew and I had intended to make it in a denim or suiting fabric for more everyday type wear and with sleeves - still have to do that.  In general, I have had great wear from the Victory garments I have sewn - The sizing seems to suit my shape.

Victory Hazel dress
 
So this was the nice, easy bit - I think it will be harder to pick the misses.  I suppose looking back through the years photos will help and also if I haven't worn something very much.  Will have to go away and think about that.

Sunday, 21 December 2014

Love at First Stitch Delphine skirt.

I have been meaning to make the Delphine skirt for ages, having bought Tilly's book when it was first released.  I don't wear skirts all that often, but its good to have a couple of faithfuls to fall back on.  I wanted a warm winter weight skirt to fit into my wardrobe, most of the wool fabrics I might have fancied were rather pricey, so I settled for a this wool and viscose fabric fabric from dittofabrics.

Delphine skirt with velour Grainline Scout tee.

The fabric on the website is called burgundy, but in my book it's more of a fuchsia colour. (really nice)  It's quite thick, a bit like a boiled wool and could be used in the same way, as in the edges don't fray, so you could just leave the raw edges.  It's easy to cut and work with and would be great for jackets and cosy dresses too.

The Delphine skirt is a simple A-line skirt with facing and an invisible zip on the back.  Love at First Stitch is a great book and would be ideal for anyone starting to sew for themselves, as there are different techniques to try with every projects.  The photographs are excellent and the instructions are brilliant, it has been extremely well thought out and planned, sort of like a 'let me take you by the hand' approach, which is great.

As my fabric is 50% wool/50% viscose I thought there might be an itch factor, so I decided to line it.  As I have never added a lining to a skirt, it was great that Tilly had a post on how to sew a skirt lining. It made it a very simple process.


As the main fabric is quite thick I decided not to hem it in the normal way, instead I made some Liberty bias binding (same as the facing fabric, Tresco left from my Josephine blouse) and used it to bind the hem.  The lining is a little bit shorter because there was no length taken off the main skirt, but it's not a big deal.  The lining fabric is pretty cheap standard lining fabric bought locally (£2.50).  The length is perfect on me (I am 5' 5"), I think if I had hemmed it, it might have been a bit short for me.


So a great pattern and a cosy skirt, which I think I could get a lot of wear out of.


Not long to Christmas now, so nearly time to review the year, decide on hits and misses and, of course, there has to be a plan made for next year. Better get cracking on that!

Saturday, 6 December 2014

Albion finished just in time for the winter.

So, I finished my Albion duffle coat a little while ago, but only got a chance to photograph now.  Is it just me or does November light not lend itself very well to either sewing or photographing.  I really struggled this last month with lack of light and somehow artificial light doesn't quite work either.

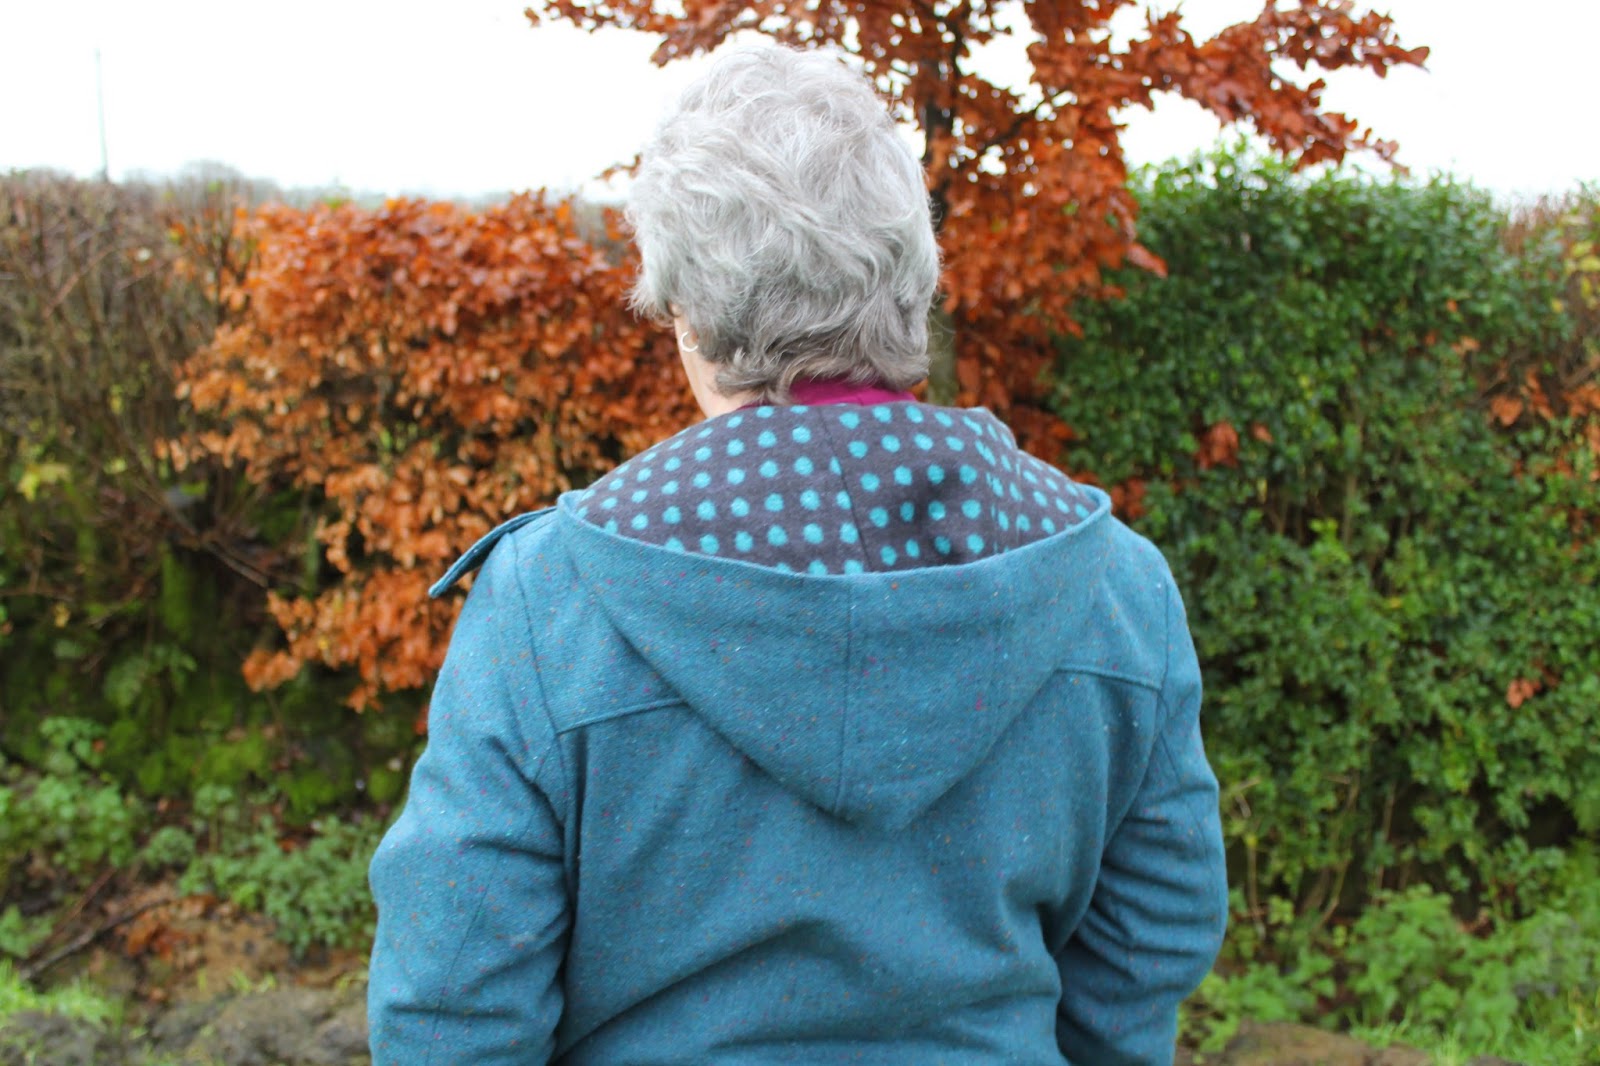
Anyway, my coat is finished and I am pretty pleased with it.  Just to recap from my last couple of posts, my fabric was a teal coloured wool fabric which I bought from Clothspot in early Autumn (appears to be sold out now).  I suppose I rushed into my purchase, should have really got a sample first and so when it arrived I felt it was really a bit lightweight.  But as I had bought quite a bit of it I wanted to use it anyway.


I chose to make the medium size of the pattern and did not make a toile, and as the style is oversized anyway I feel it is a bit on the big size, especially in the shoulder area, but I think I can get away with it.


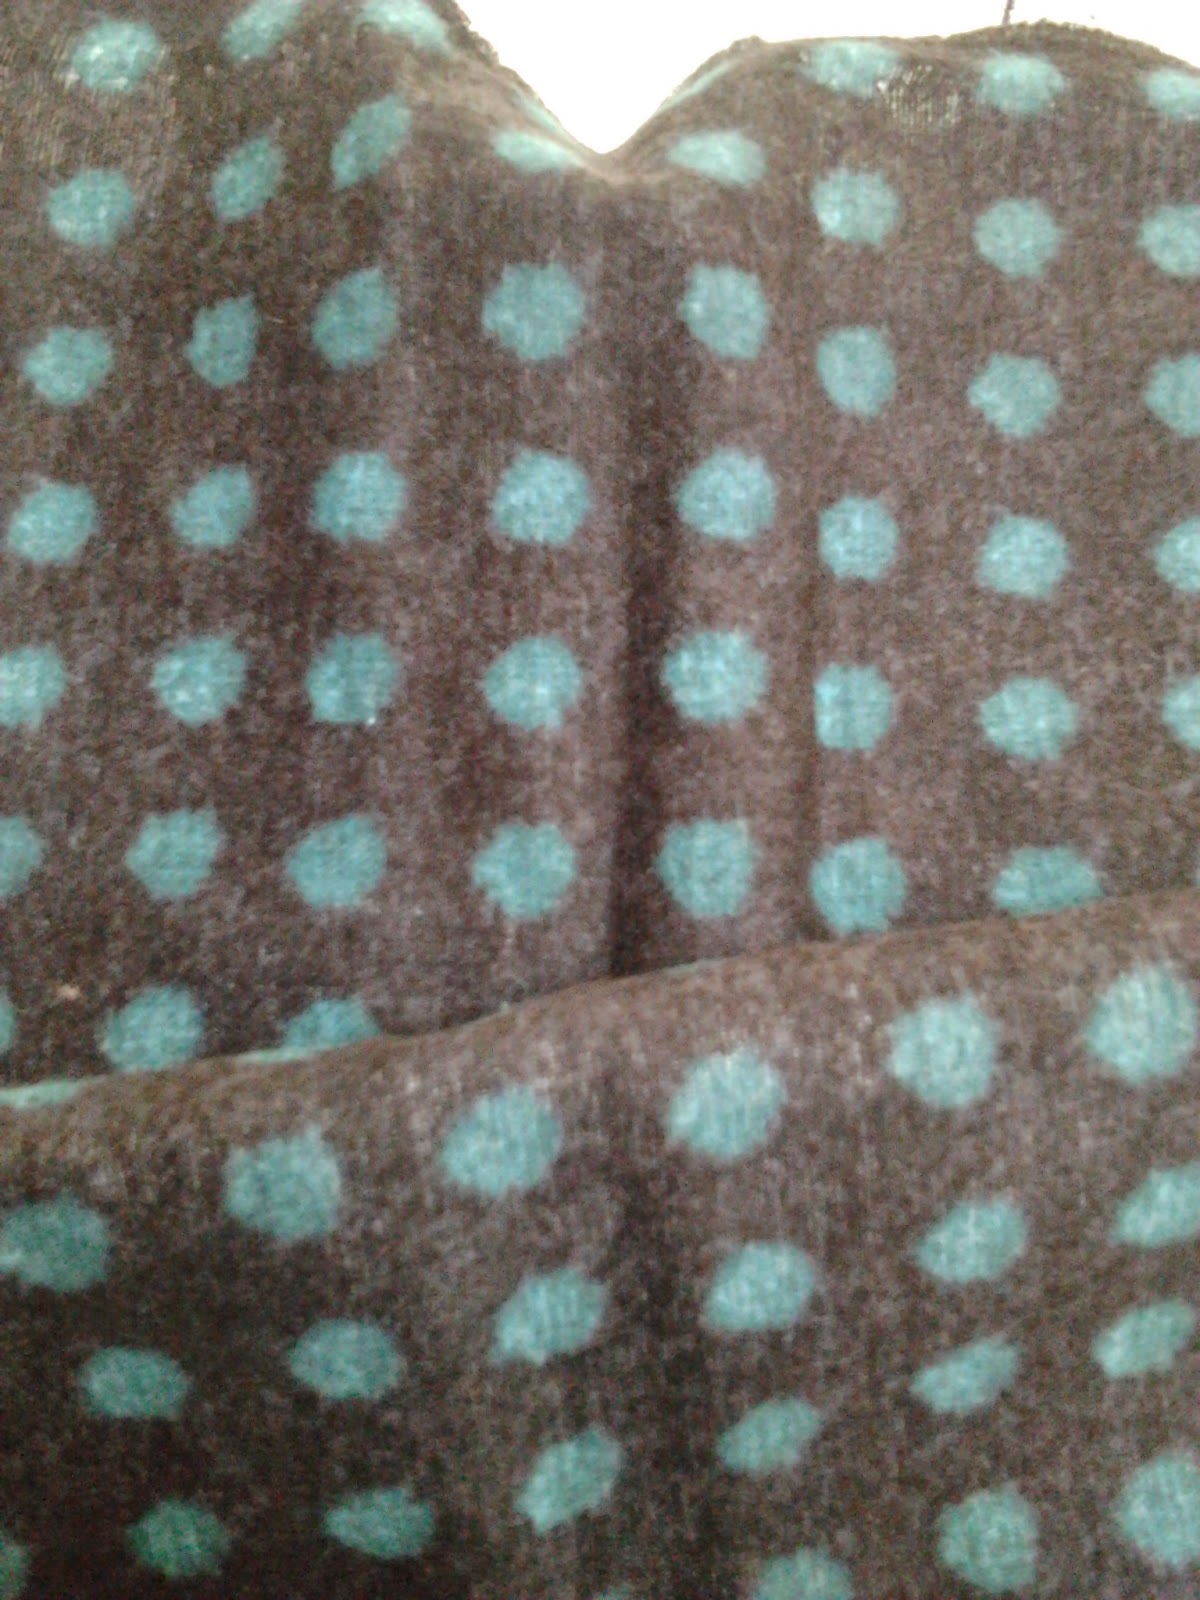
I really like my lining fabric which is a soft, fleecy double gauze in grey/teal polka dot which I got from MissMatatabi on Etsy ages ago (with a view to making a dress).  As I mentioned in my previous post, I didn't think it was going to be quite warm enough so I have sewed interlining fabric between the outer fabric and lining.  This was obviously a bit more work and expense, but worth it.  I have been wearing the coat the last few days and it is very cosy.


If you are thinking of making your own winter coat,  my advice would be to spend the most you can afford (especially if you want protection from the elements & some longevity) and get some samples as it's really the only way to judge the weight of the fabric for sure.  I think my fabric was £6.95/metre, it is wool, but light weight, I would say to up the budget more, but for the price I paid it's actually ok. Of course, with wool the sky is the limit, you can pay up to £40/meter or more (eg Harris Tweed or merino suiting)


As regards the pattern,  as I may have said before (having made one for my husband back in January), there is nothing too difficult about it, the instructions are great, there are just a lot of small steps.  As it is a duffle coat there is no real shaping or fitting, so it is ideal for a beginner/intermediate sewer.  Due to busyness, mine took an inordinately long time to complete, but I made my husbands in a couple of weeks back in January (and I would still say I'm a beginner)


I got the toggles on Etsy and deliberated over whether to machine stitch or hand stitch.  After much deliberation, I hand stitched them zzz! boy was that tedious, but I was afraid that if I used a needle for leather that it would tear my fabric, so there you go.

I intend sewing press fasteners down the facing at the front as the coat tends to part slightly with the toggle closure, so probably fasteners will keep it more secure.  Also I love the pockets, the in-seam pockets are lovely and deep and cosy and, of course, there are also the front pockets.

Cost wise I haven't worked it out exactly, but I reckon it's around £70, yes perhaps I could have bought a coat ready to wear at that price, but it would be more synthetic, so for the money I think I have a pretty good coat.

Anyway overall I am pleased and also glad to finally finish it and judging by the weather forecast it may come in useful. Maybe I can get on to some faster, 'lighter' projects now.  I have, of course,  a list of desirables so where to start?

(A few more details are on my previous posts)

Thursday, 20 November 2014

Final steps of Albion.

Just a short post today.  I have almost finished my Albion coat, just wanted to show my lovely toggles.  Toggles are actually quite hard to find.  For my husband's Albion I used brown toggles that I purchased in minervacrafts.com.  They also have them in black, but I wanted something a bit different.  So on doing a little bit of surfing on the net I came across some on etsy.


I am really pleased with them, I went for the grey (although I did consider the red), they are handmade, the toggles are sharktooth shaped and there are gunmetal rivets on the tabs.  I think they are just a little bit different.  They can be found here, they are dispatched from England so it's nice to give a little support to a 'local'ish business. Just hope I don't make a mess of stitching them on now.


Next up, the hunt for the right buttons for the cuff tabs and the neck tab.  My dad passed on my mum's button box and sewing basket to me just lately, feels strange looking through a box that I used to get hours of fun out of when I was little.  Not sure if there's anything suitable in there, but we shall see.

Anyway, nearly there, pleased with how it's turning out, but it will be nice to try something a little quicker and simpler soon.

Wednesday, 29 October 2014

Sometimes the 'Slow Sew' is good - Albion No.2

Sometimes you do have to be careful what you wish for.  One of my resolutions for 2014 was to make less items.  In the previous year I was on a 'sewing high' just on the sheer fact that I could 'sew a garment' for myself so hastened to sew just about every pattern that was released.  It was all a good steep learning curve, but a little bit 'over the top', after all there are only so many clothes you can wear.

So in 2014 I have been more deliberate in my choices of what to make and overall I am pleased with what I have made so far.  This is coupled with the fact that I have been trying to downsize and simplify and I am quite pleased with the progress on that.  I also had a successful summer Ten Item Wardrobe and also an autumn one (more about that later), so on the whole I am achieving what I set out to do in 2014.

However, the 'slow sew' lately has been a little bit forced upon me in that I have less time to sew because there have been daily hospital visits to my dad who is not very well. (and are likely to continue)  Nearest and dearest always come first clearly, but I have found it's good to have a 'slow burner-type project' on the go at these times.  For me, that has been a bit if knitting (with the right project it's therapeutic), but surprisingly I have found time for some sewing, in the form of the Colette Albion.  It is the duffle coat from Colette patterns and I made my husband one at the beginning of the year - here and it was always in my plans to make a winter coat this year.


Probably the longest and most tedious part of this make is sticking the pdf pattern pages together and all the cutting out, but I took about 4 1-hour sessions to do this, so a good dip-in-and-out activity.  Then, of course, was the actual cutting of the main fabric and the lining fabric.


I got my fabric in Clothspot, it is a wool mix, a tweed-type fabric,but if I'm honest I rushed in my selection of it and it is really a bit light weight for a duffle coat. I think it was £6.95/metre so didn't break the bank.  Clothspot got some beautiful coatings in just after that so I wish I had waited.  If you are thinking of a coat, you should have a look, they also have some beautiful fur which would be lovely for a collar (no animals harmed in the making)   I do like my fabric though, basically a teal colour with some rust and pink flecks. (I think it is sold out now)

I scoured the internet for ages looking for a super warm lining, but couldn't find anything, then remembered I had some Japanese double gauze that might do the job.


It is sort of fleece like, lovely and smooth and soft, and goes perfectly with the main fabric, so I'm pretty pleased that I got using something from the stash.  However, I still don't think it will be quite warm enough, so I have ordered some wadding for between the lining and the main fabric.

So, back to the pattern itself.  As I have made it before I know that there is nothing too difficult about it.  There are lots of little sections, but the instructions are great and as a project, it is really working for me at the minute.  Any free hour I have, I do one or two sections and it's amazing how it progresses.

Patch pocket on Albion
So no finished items but I'm getting there, slow but hopefully worth the wait!

Wednesday, 8 October 2014

'Convenient' Bento Tee

So any autumn sewing plans I had made were sidelined with the release of Liesl & Co's new patterns. I was pretty sure that there would be at least a couple that I would want to make out of the four releases and sure enough that is the case.  There were two dresses, culottes and a knit tee,  all of them look very wearable indeed, but I started with the simplest, the Bento Tee..  Not that I needed another sewing pattern for a jersey-type tee, but it looked very appealing.  There are two versions, the first is a longer sleeved sweatshirt with front in-seam pockets and the other is a hip length tee with cuffed short sleeves.

Bento Tee (Liesl & Co)
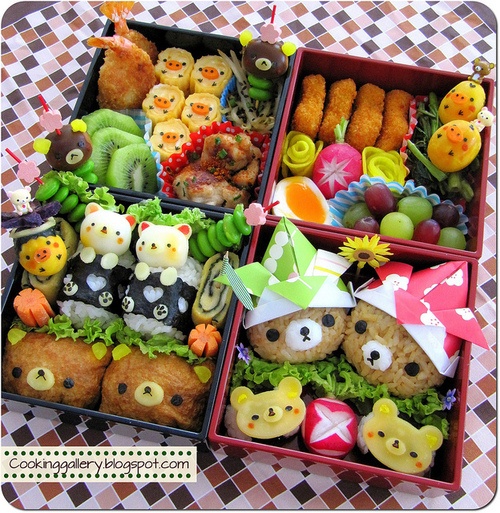
Bento is the little Japanese lunch box with rice, vegetables and other healthy delights, but 'bento' apparently also means 'convenient' - just a little snippet of information.


Beats a ham sandwich & a packet of crisps.
Not sure my sons would appreciate this.

I chose to make the sweatshirt version with the front pockets and I made it with a maroon coloured merino from newzealandmerinosandfabrics.co.nz.  The fabric is really cosy with a loopback finish on the inside, what better for one of the first cold days of autumn.  These patterns are all pdf and are laid out in a really easy way.  Rather than having a million sheets taped together the entire length and breadth of your front room, these are arranged so that you tape just enough at a time for each pattern piece.  Genius!  The pattern itself is very straightforward and the instructions make it very simple.


The pockets are a nice detail on this top, just big enough for your ipod, some money, key or whatever.  I shortened the top by 1 3/4 inches and for some strange reason the sleeves were incredibly long,  I don't think I have overly short arms, maybe they are longer to be turned back, anyway I reduced the length of mine by 2 inches.  The shoulders on this style are dropped, probably would look better on someone with a narrower frame than myself,  but I like it anyway.


I wore it with jersey trousers in these photos, but I think it would also look well with a straight skirt and, of course, the Girl Friday culottes.  They are on my sewing table at the moment,  I hope to finish them soon. (hope I have made the right size)

I also have got my knitting mojo back again, having left my knitting needles in the bag for months on end, but now in tandem with the first lighting of the fire, I have resumed my sweater. Yea!

First time using double pointed needles.
I am at the sleeve knitting stage and this is the first I have used dpn's, pleased to say I have got into the way of it, so I might start sock-knitting yet!

Will leave you with a photo of the autumnal full moon.  Til next time.


Wednesday, 1 October 2014

A Cappuccino please.

One of the first sewing patterns I ever used was the Lisette Portfolio dress pattern by Liesl Gibson.  I made a cotton version and a wool winter version.  For someone like me who just took a notion to try and sew some clothes for myself and had no 'training' at all, it speaks volumes about how good the design and instructions of the pattern were that I was able to do it.  Having googled sewing patterns it was one that kept appearing on the internet, a very popular pattern indeed.  It apparently went out of print but earlier this year under Liesl & Co a similar pattern was released, the Cappuccino.

My Lisette Portfolio tunic in Amy Butler fabric
It has the same pocket detail that we all love but instead of the square inset and round neck, it now has a V-neck with some gathers on the middle panel. It also has the same kimono type sleeves, so no sleeve inset and a slightly loose skimming line. As before there are two options, the tunic or the dress.

With autumn attire in mind, I thought it was as good a time as any to give this pattern a try.  I used a rayon fabric, Sinister Swarm by Anna Maria Horner which I bought last year, probably not really an autumn weight fabric but I just love the colours. (Anyway there are always camis and cardis when it gets colder) The pattern on this fabric is pretty large and loud, I had put it away as it was a bit louder than I had wanted, but I think it suits this pattern ok.  I used a light weight corduroy fabric left over from another project for the collar and cuffs.  It might seem like an odd pairing, rayon and cord but I think it works fine.  I chose to not add interfacing to the corduroy as I didn't want it too stiff with the rayon being drapey.

Liesl & Co Cappuccino tunic.
The beauty of this pattern is that there are also very clear instructions as to how to do a Full Bust adjustment.  I have realised for a while that I probably should be doing this on a lot of sewing patterns, but basically didn't have much of a clue how to go about it, but the instructions made me realise it's not really that tricky.  What a difference, a much better fit without having to go bigger elsewhere.

Full Bust Adjustment
I won't go into all the details.  Liesl does that perfectly well in the instructions, but you are basically adding 1/2 inch or 3/4 inch to the curve at the front where the fullest part of the bustline is, by widening the pattern and spreading the pattern piece out.  You also add the same amount to the centre front piece.


I chose to do Version B, the tunic, although I wanted more of a hip length blouse this time so I shortened it by 2.5 inches, but I will definitely be trying out the dress version sometime soon.


As you can see I made the long sleeved option of the tunic, nice straightforward addition with a neat cuff.  This is the sort of sewing pattern that you can have a lot of fun with, lots of fabric combination possibilities.  With the dress option you could use a special fabric for the centre front panel and keep the rest plain or dotty/stripey chambray or light denim with a plain.  I'm not sure you could use too heavy a fabric (unlike my wool Portfolio dress) mostly because of the gathering at the neckline.  As recommended in the pattern it works best with light to medium fabric, but I think a fine corduroy would work.

So another great Liesl & Co pattern and, of course, now they are releasing this autumns four patterns, all of which I want to make.  (4th released tomorrow)  There are the Cinema dress, the Girl Friday culottes and the Bento Tee so far.  All very tempting, all I need is plenty of time.


Wednesday, 24 September 2014

Autumnal Liberty Undercover Hood

Liberty Mawston Meadow fleece


I treated myself to this lovely Liberty fleece with some money I got for my birthday last September. Like all Liberty fabrics it is ablaze with colour, strangely enough most of them are not my usual colour choices, orange, yellow and lime appear, but also blues and purples. It was a little bit pricey and I seemed to develop a fear of approaching it with a pair of scissors and also what was I going to make with it?!

I had seen a rtw edge to edge jacket made up in this exact fabric (you can see it on my pinterest here) and thought that might be an idea, then I toyed with the Papercut rigel bomber jacket which I think would have worked very well, except... well I'm just not sure that in my late 40's I should be wearing a floral bomber jacket.  Yes, I did sort of chicken out and hid it away for a year.

So out it came a year later and quick-as-a-flash I decided to make some sort of sweatshirt.  I looked at several patterns on the net and on pinterest and there are many, but I decided on the Papercut Undercover Hood.  I have made up a couple of their patterns now and really like them, this time going for the pdf option for speed.

Papercut Undercover Hood pattern


I opted for the hoodless version and chose to make the length half-way between the cropped and the longer length.  I am glad I didn't pick the cropped version as it would have been extremely short on me (I have a long back).  The sewing pattern is a simple raglan sleeve top with cuffed sleeves and a waistband cuff, nothing too difficult. The basic sweatshirt seems to be very popular at the moment so there may be other versions made. There is also a kangaroo pocket.

Kangaroo pocket.
It is lovely fleece fabric, so soft and cosy.  Yes I could have bought a sweatshirt for much less than this cost to make, but it wouldn't have been a Liberty sweatshirt and I also have some left over.

I don't look very pleased, but I am, ha.
Now, what else do I need for autumn? I think I need a plan.

Saturday, 13 September 2014

My OWOP 2014

So OWOP (One Week One Pattern) is now over and my week of wearing all Coco's (in case any of you don't know - the Tilly & the Buttons pattern).  Whenever I had decided on which pattern to use I looked at the forecast and thought that there was going to be an autumnal nip in the air.  There were very few chilly 'nips' last week and, in fact, it was a beautiful sunny week and I was a little bit warm at times.  Anyway I still enjoyed the challenge and also another Coco top was made mid week, one of the great advantages of the Coco is that it can sewn up pretty quickly.

So here they are:

Day 1 - Saturday

Merino Coco

I love the colour of this Coco top, it is a lightweight merino, made up with the funnel roll neck and cuffs.  As it was a Saturday it went very well with jeans.

Day 2  - Sunday  (and another year older!)

Navy Coco top with Deer & Doe Chardon skirt and ByHandLondon Victoria Blazer.
Sunday was my birthday so had to make an effort!  It was another lovely day and nice pressies and eats.  This Coco top (it is tucked in so probably doesn't look much like the Coco) has been much worn over the summer.  It is a lightweight cotton jersey with no stretch so ideal fabric for the pattern and you can't go wrong with navy.

Day 3 - Monday

Black and white double knit jersey Coco

This was my 'panic make' the week before OWOP.  It is a lightweight doubleknit jersey from minervacrafts, again an ideal fabric for the Coco and very comfortable.

Day 4 - Tuesday

Navy Coco under the Endless summer tunic

Again the very versatile navy Coco worn as an autumn layer under the tunic dress.  I haven't worn the dress with a top under it, might get a few more wears out of it before packing it away.

Day 5 - Wednesday

Merino Coco with Anima pants
A very casual day doing stuff in the garden and housework, very comfy.

Day 6 - Thursday

Lilac Coco, pockets trimmed with Kaffe Fassett ribbon.
This Coco was dreamed up and made during the week, it is made from double knit which is quite a stiff fabric, not sure I really like the 'feel' of it.  Anyway I wore it with my Toast sailor trousers and decided to trim the pockets just to take the plain look off it.

Pocket trim - Kaffe Fassett ribbon.
 Day 7 - Friday


This was the first Coco I made, I think, or was it the merino, not sure. I wish I had got the stripes joined to the red fabric a bit more even.  I was still trying to get used to my overlocker and it was the first time trying it out to make a garment.  Both fabrics are ponte roma jersey.

So there you are, a week of Coco's, 2 dresses and 3 tops, definitely a super pattern and depending on your weight of fabric can be great for all seasons, can be worn casual or dressed up more. The top (especially my navy one) can be worn on it's own, over a blouse or under a dress. It suits my lifestyle so what more do you want.

Coco, I hope I have done you justice.

It's been great doing the OWOP sewing challenge, thank you Jane for organizing.